
Quick Tip : Automatic / Scheduled – Backup App Service via Azure portal | Step By Step
In this blog, we are going to learn “How to take Automatic / Scheduled Backup App Service via Azure portal”.
Introduction:
App Service can back up the following information to an Azure storage account – container that you have configured your app to use.
- App configuration
- File content
- Database connected to your app
Pre-requisites Steps:
- Azure account with an active subscription. Create an account for free
- Quick Tip : How to Create Storage Account via Azure portal
- Quick Tip : How to Create Storage Container in Storage Account via Azure portal
Dependency Resources:
- Resource Group
- App service plan – Backup feature support only for Standard or Higher App Service Plan
- App service
- Azure storage account
- Azure storage account – Container
Step by Step:
Step 0: Go through the Pre-requisites
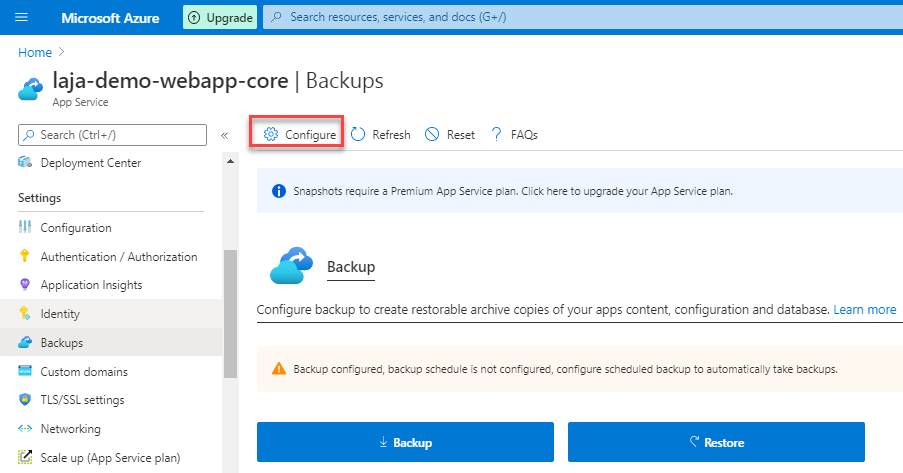
Step 1: In the Azure portal, navigate to your app’s page, select Backups.

Step 2: Click on “Configure”
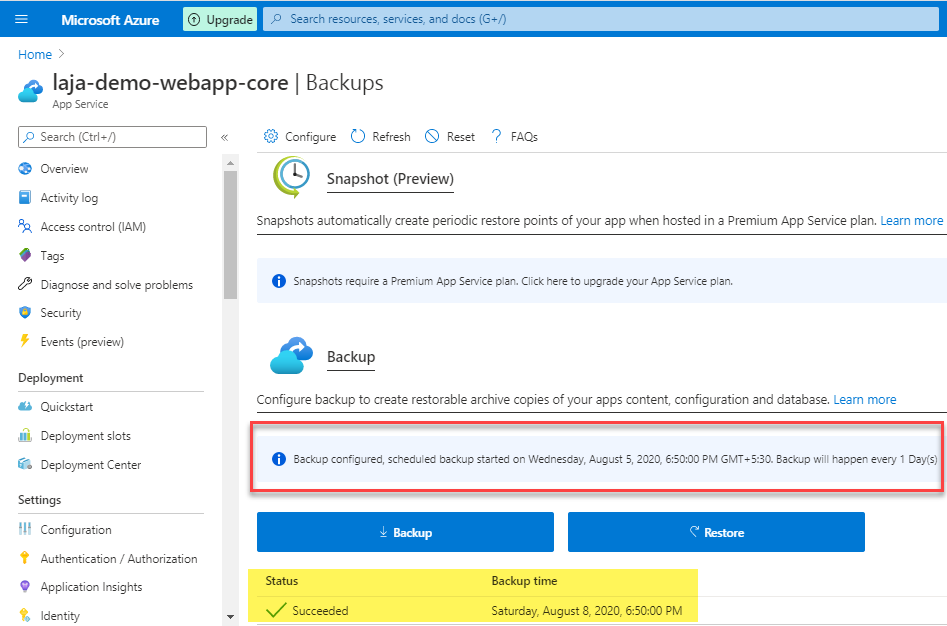
Step 3: Select the existing “Storage Container”,then turn on “scheduled backup” & set schedule time for backup, then click on “Save”

Step 6: Here you can see the backup is succeeded at the scheduled time, Click on “Refresh” if the backup takes time
Points to Remember:
- Backup feature shoud be Standard or Higher App Service Plan.
Do you still have any questions about this article, ask away in the comments and we’ll do our best to help!


Incredible! This blog looks just like my old one! It’s on a completely different subject but it has pretty much the same page layout and design. Great choice of colors!