Step-by-Step: How to Cleanup all Resources from your Resource Group via Azure Portal?
In this article, you’ll learn How to Cleanup all Resources from your Resource Group via Azure Portal.
Pre-requisites:
- Azure account with an active subscription. Create an account for free
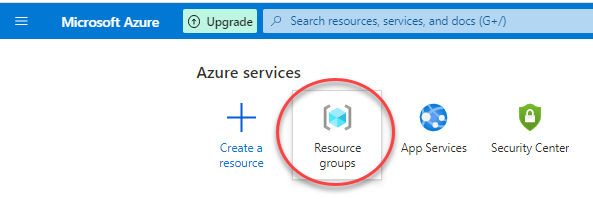
Step 1 – Login into Azure portal, then click on “Resource Groups”
Step 2 – Click on your resource group

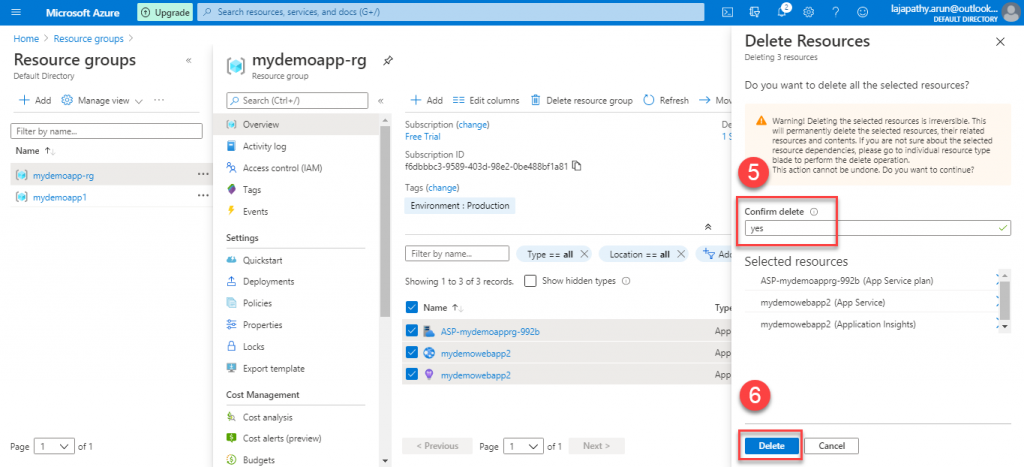
Step 3 – Click on “Select all” checkbox to select all resources in step 3 below, then click on “Delete”

Step 4 – Type yes to confirm, then click on “Delete”
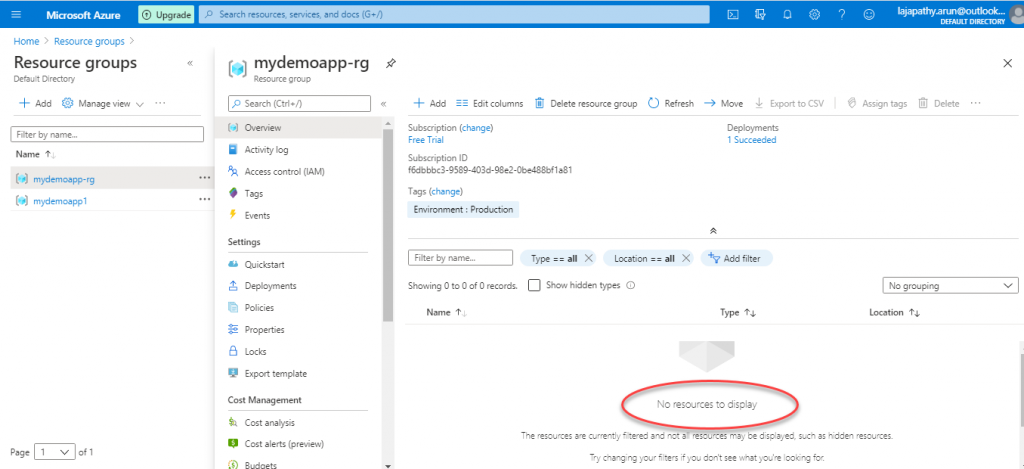
Step 5 – Now, all the resources are deleted, click on “Refresh”
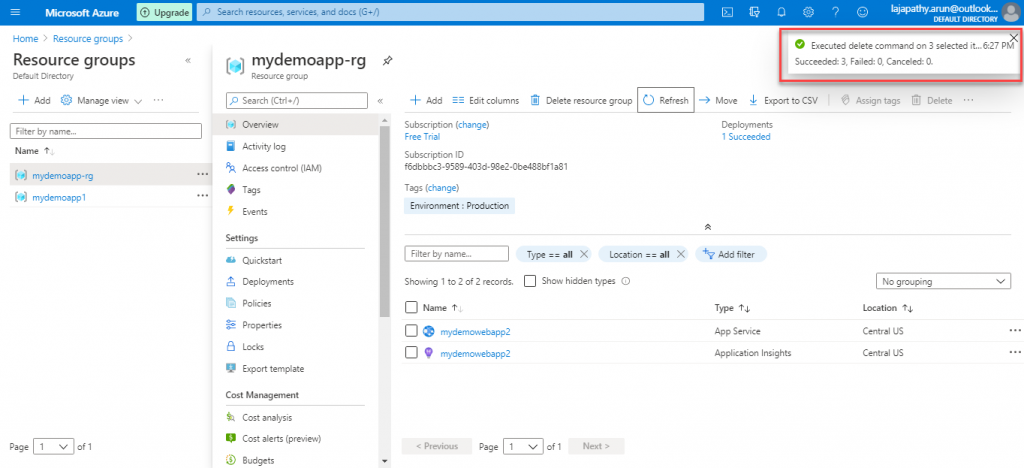
Step 6 – Once refreshed, you can see all the resources are deleted which connected to the below resource group
Congratulations! You have Deleted all your Resources successfully.
Now, you have learned How to Cleanup all Resources from your Resource Group via Azure Portal.


You actually make it seem really easy together with your presentation but I find this topic to be actually one thing which I feel I would never understand. It seems too complex and extremely broad for me. I am having a look ahead to your next submit, I will attempt to get the hang of it!