
Step-by-Step : Create & Deploy WordPress Application in Azure via Portal
In this blog, we are going to learn “How to Create & Deploy WordPress Application in Azure via Portal”
Pre-requisites:
- Azure account with an active subscription. Create an account for free
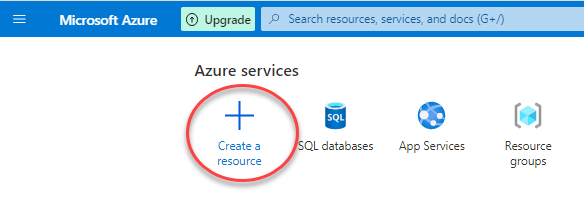
Step 1: Click on “Create a resource”
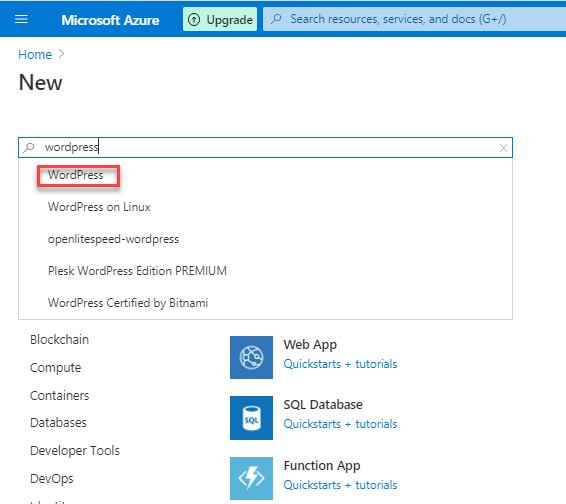
Step 2: Search for and select “wordpress”
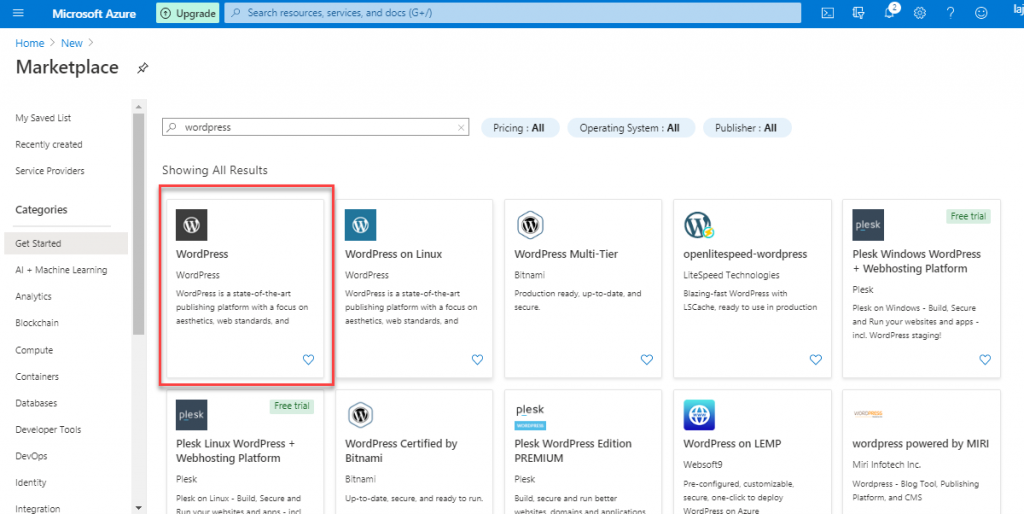
Step 3: Select “WordPress” service from market place
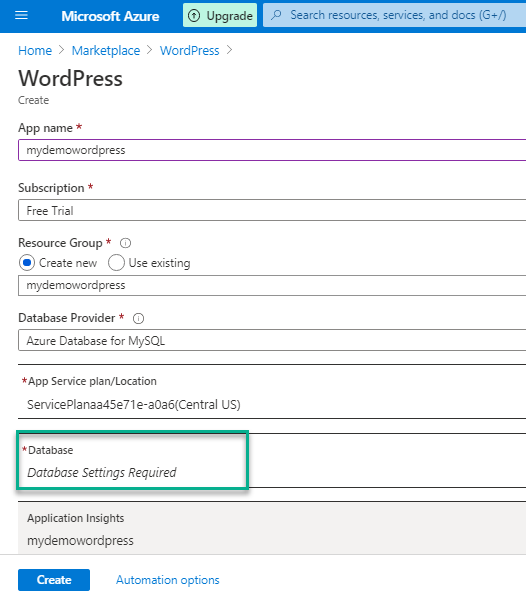
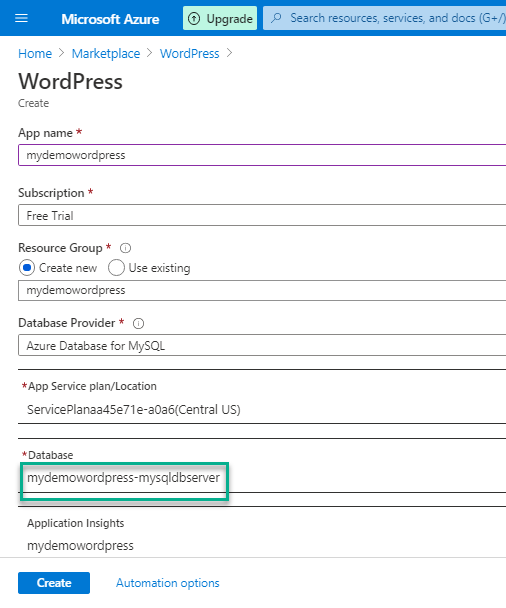
Step 4: Click on “Create” to proceed with creation process

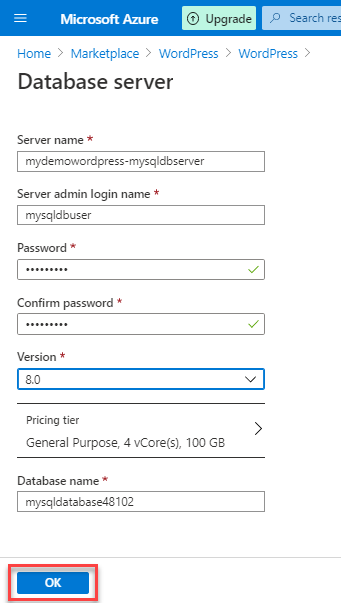
Step 5: Click on “Database” shown below to setup database server
Step 6: Set-up the database server by providing server name, login credential, pricing tier, then click on “Ok”
Step 7: Fill out the app details, then click on “Create” to create wordpress app
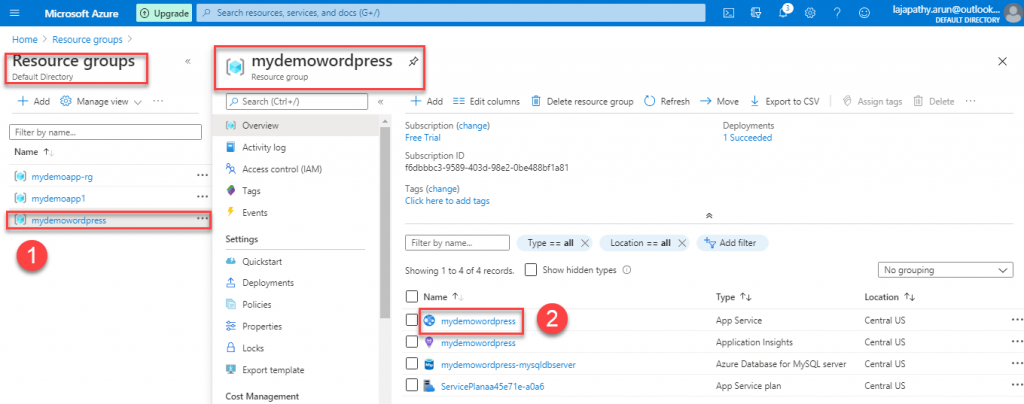
Step 8: Now you can see the wordpress app is deployed with all the resources such as App service plan, Azure Database etc
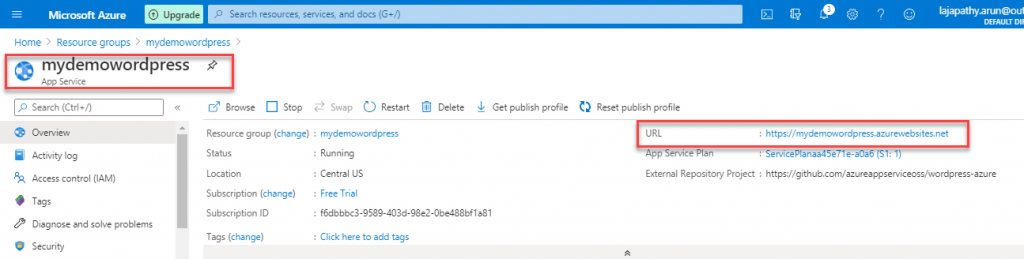
Step 9: Copy the wordpress app “URL”
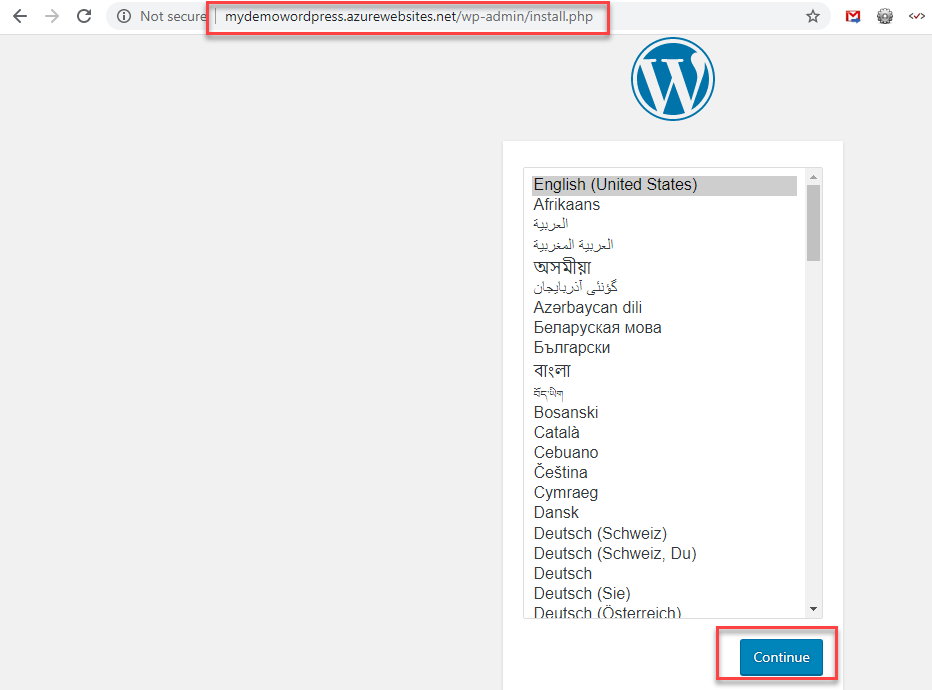
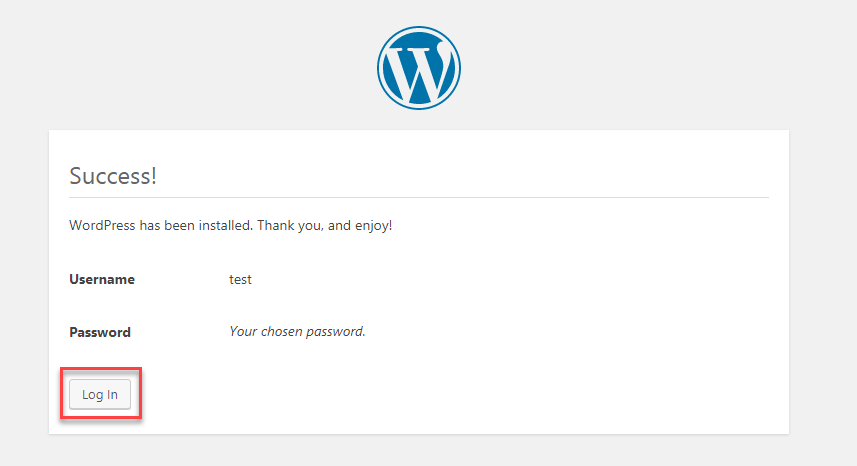
Step 10: Browse the URL in browser, then proceed with the wordpress setup wizard steps

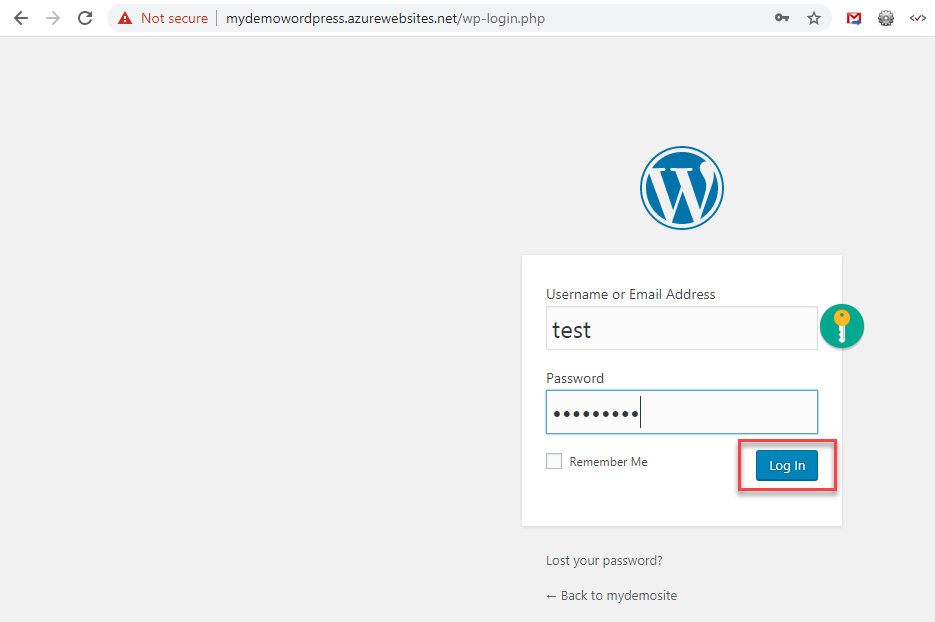
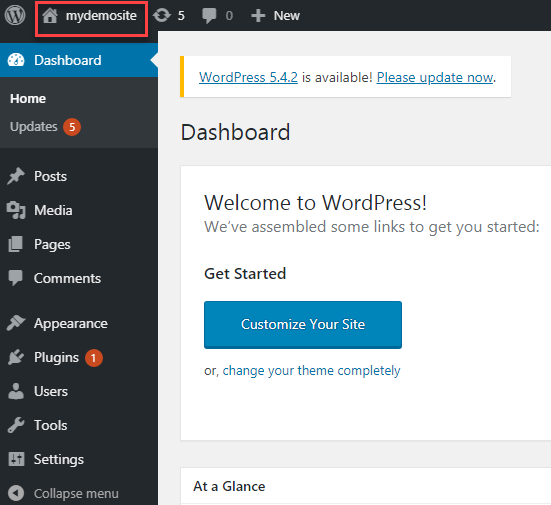
Step 11 : Now, you can see your wordpress app is now live

Do you still have any questions about this article, Ask away in the comments and we’ll do our best to help!
How do you migrate a local wordpress site onto Azure?